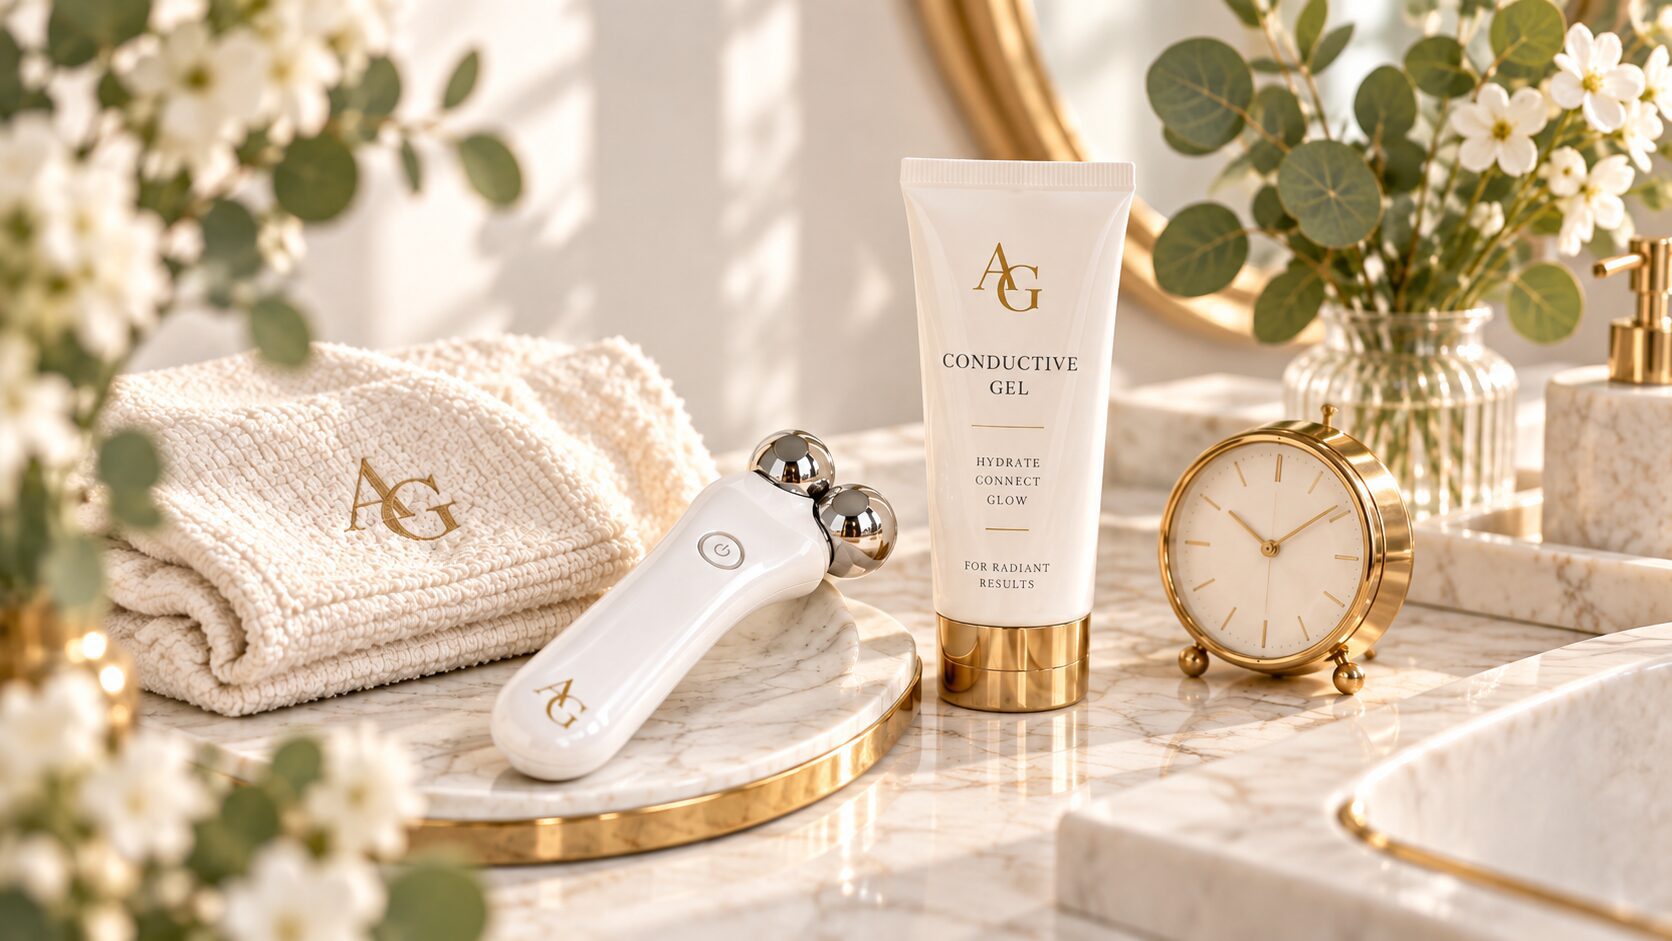
Microcurrent for Beginners: Conductive Gel, Common Mistakes & What to Know Before You Start
September 11, 2026
Microcurrent for beginners can look simple in a 15-second video and confusing the moment you actually hold the device in your hand.
This is the starting point we’d want a friend to have before she spent money on a device: a plain-language walkthrough of what a session actually involves, why conductivity matters more than most tutorials mention, and the handful of beginner mistakes that are genuinely worth avoiding.
If you’re still deciding which technology fits your routine, start with our At-Home Skincare Devices guide.
What Happens During a Typical At-Home Microcurrent Session
While the exact steps vary by device, most at-home microcurrent sessions follow a similar shape:
1. Cleanse and dry the skin so the device is making contact with skin, not residual makeup or oils.
2. Apply the conductive medium your manufacturer has approved for your device — a gel, cream, or other formulation, depending on the brand — to the treatment area. This step isn’t cosmetic, it’s functional (more on why below).
3. Glide the device’s probes or attachment across the face and, if your device specifically permits it, approved areas of the neck, following the manufacturer’s recommended paths, current level, and pace. Some manuals restrict treatment over the midline/front of the neck or the thyroid region — check your device’s guidance before including the neck at all.
4. Complete the session for the recommended duration — often a set number of minutes per area, not an open-ended amount of time.
5. Finish according to your device and conductive product’s instructions. Some activators are designed to be massaged into the skin after treatment; others are meant to be rinsed or wiped away. Don’t assume either approach — check your manual.
What a session feels like varies by device. Some consumer microcurrent devices are designed to be nearly sensationless; others produce a mild tingling. Pain, burning, or a strong zapping sensation isn’t something to push through — if you experience any of those, stop and check your device’s settings and instructions rather than continuing.
Why Conductivity Matters
Skin is not a perfect conductor of electricity on its own — dry skin, in particular, has fairly high electrical resistance. When a microcurrent device’s probes touch dry or under-prepped skin, the current can transmit unevenly, which may feel uncomfortable, cause the device to skip or drag, or simply mean the current isn’t reaching the treatment area the way the device is designed to deliver it.
A conductive medium reduces that resistance, allowing the current to move more smoothly and consistently across the skin. It’s also a practical necessity for comfort: gliding a metal probe across dry skin is more likely to tug, drag, or irritate than gliding it across a lubricated surface.
Conductive Gel vs. Other Manufacturer-Approved Conductive Mediums
It’s a myth that every microcurrent device requires the exact same “conductive gel” — and it’s equally a myth that any slick, conductive-feeling product will do instead. What’s actually true is narrower and stricter: many consumer microcurrent devices are designed for use with a specific conductive medium, and the safest, most accurate approach is to use only the product — or product category — your specific manufacturer has explicitly approved for your device.
That approved medium might be a dedicated gel, a specific cream, or another formulation depending on the brand, but it isn’t automatically interchangeable with a different brand’s gel, an ordinary moisturizer, an oil, or a serum, even one that feels similarly slick. Using something outside what your manufacturer approves can mean the device doesn’t perform as designed, and in some cases may affect its contact with the skin. This is exactly why the next section matters more than any general rule of thumb.
Why You Should Always Follow Your Specific Device’s Instructions
Every recommendation in this article is general by necessity — because devices genuinely differ in current strength, attachment design, and the specific conductive medium they’re built to use. Your device’s manual is the one source that’s actually written for the device sitting on your counter. When general advice (including this article) and your device’s instructions seem to conflict, the manual wins.
One distinction worth keeping in mind: your manual is the right place to look for usage guidance (settings, technique, conductive medium). It’s a different thing from a brand’s marketing claims about results, which are worth reading more skeptically than independently reviewed research.
If you’re comparing microcurrent with light-based devices, our LED Light Therapy After 40 guide explains what red-light therapy is designed to do differently.
Preparing Your Skin Before a Session
- Cleanse thoroughly and pat dry — no makeup, sunscreen, or heavy product residue in the treatment area.
- Skip microcurrent on broken, irritated, sunburned, or actively inflamed skin.
- If you’re combining microcurrent with other active skincare (retinoids, exfoliating acids), check your device’s guidance on timing — applying strong actives immediately before or after a session may increase sensitivity for some people.
- Check your device’s guidance on treatment areas before you begin. Some manuals limit or exclude certain areas of the neck — particularly the midline/front of the neck or the thyroid region — even when the device is otherwise approved for facial use.
- If you have a pacemaker or other implanted electronic device, a history of epilepsy or seizures, are pregnant, or have an active skin condition, check with a physician before starting — these are precautions dermatology sources consistently note for this device category.
Common Beginner Mistakes
Using too little conductive medium
Skimping on your conductive medium to “make it last longer” is one of the most common mistakes. Too little conductive medium increases skin resistance, which can make the current transmission uneven and the experience less comfortable — the opposite of what you’re going for.
Rushing technique
Gliding the device quickly through each area to finish faster undercuts the manufacturer’s intended contact time per zone. Rather than guessing at what pace “feels right,” follow your device’s prescribed glide speed, holds, number of passes, and total treatment duration exactly as described in the manual.
Assuming stronger or longer is better
As covered in more depth in our companion article on microcurrent results and frequency, there’s no evidence that a higher intensity setting or a longer session produces proportionally better outcomes. It can, however, increase the odds of irritation or discomfort.
Inconsistent use
The available controlled research on facial NMES devices involved consistent use over multiple weeks — not sporadic, whenever-you-remember sessions. If you’re only picking up the device once every couple of weeks, it’s worth being honest with yourself that you haven’t really given the routine a fair test yet.
Unrealistic expectations
Expecting a single session to produce a change that lasts for days, or expecting an at-home device to replicate a professional treatment, sets you up to feel disappointed by a device that may otherwise be working as intended, at a modest, at-home level.
How to Track Progress Without Obsessing Over Daily Changes
Daily mirror-checking mostly captures normal fluctuation — sleep, hydration, sodium intake, and lighting all change your skin’s appearance more from day to day than a device realistically will. Instead:
- Take a photo in the same lighting and position every 2–4 weeks, not daily.
- Keep a simple log of how many sessions you actually completed each week — consistency is the variable most tied to the available NMES research.
- Note how your skin tolerates the device over time, not just how it looks.
When to Stop and Check the Instructions (or Contact the Manufacturer)
Stop a session and revisit your device’s manual — or contact the manufacturer — if you notice:
- Pain, burning, or a strong zapping sensation, rather than mild tingling or the minimal sensation some devices are designed to produce
- Skin irritation, redness, or a rash that doesn’t resolve quickly
- The device behaving differently than usual (unusual heat, inconsistent current, error messages)
- Any symptoms like dizziness or an irregular heartbeat sensation during or after use — stop immediately and consult a physician
When in doubt, the manufacturer’s customer support and instruction manual are more reliable than a general guideline like this one.
Beginner Checklist
☐ Cleanse and dry skin before starting
☐ Use only the conductive product or product category your manufacturer has approved for your device — not a substitute
☐ Apply enough conductive medium to keep the glide smooth throughout
☐ Check your device’s guidance on treatment areas, including any neck restrictions, before including the neck
☐ Follow your device’s prescribed glide speed, holds, number of passes, and duration
☐ Start at the intensity level your manual recommends for beginners, if applicable
☐ Finish according to your device and conductive product’s instructions (massage in or remove, as directed) — don’t assume
☐ Track sessions completed per week, not daily mirror checks
☐ Check with a physician first if you have a pacemaker, implanted device, seizure history, are pregnant, or have an active skin condition
☐ Use your device’s own recommended schedule as the primary guide; some controlled NMES research used 8–12 week review points, which can be a useful benchmark for checking in on your own experience
Practical Takeaways for Women 40+
- A typical session is short, low-sensation, and should never be painful.
- When your device requires a conductive medium, it isn’t an optional styling step — use the manufacturer-approved product or product category so the device can make the contact it was designed for.
- Not every device uses the same conductive product, and products aren’t automatically interchangeable across brands — check what your specific device requires and use only what’s approved for it.
- The most common beginner mistakes are about technique and consistency, not about the device “not working.”
- Give a fair trial — sporadic use isn’t a real test of whether a device fits your routine.
Microcurrent is only one piece of a healthy-aging routine. Our Healthy-Aging Habits guide looks at the everyday habits that support better-looking skin over time.
FAQ
Do I really need conductive gel, or can I use a regular moisturizer?
Not automatically. Many consumer microcurrent devices are designed around a specific, manufacturer-approved conductive medium, and it isn’t safe to assume a different brand’s gel, an ordinary moisturizer, an oil, or a serum will work the same way — even if it feels similarly slick. Check your device’s manual for exactly what’s approved, and use that rather than substituting.
How do I know if I’m using the device correctly?
Sensation varies by device — some are designed to be nearly sensationless, others produce a mild tingling. You shouldn’t feel pain, burning, or a strong zapping sensation. If you do, stop and re-check your settings, skin prep, and conductive medium against your device’s instructions.
How long until I know if this device is a good fit for my routine?
Follow your device’s own recommended schedule as the primary guide. Some controlled NMES research used 8- to 12-week study periods, which can be a useful point to check in on your own experience — but it isn’t a universal rule for every consumer microcurrent device.
What’s the single biggest beginner mistake?
Inconsistency. A device used sporadically isn’t a fair test of what consistent use may support, based on the available evidence.
Not sure what your skin needs next?
Start with the free Ageless Glow skincare guide to uncover what may be getting in the way before you add another product or device.
